In the following example, the second signature is submitted for an order by setting the check status.
More information on how to group orders by status can be found in the section Grouping multiple list elements.
|
1. |
Select . |
||||||
|
2. |
Change the status of the order that you want to sign to Checked: OK. You have the following options for this:
|
||||||
|
3. |
Click on Sign in the right-hand mask area below the column Check status.
The application checks whether none of the selected orders have already been signed with your user ID. |
||||||
|
4. |
The signature plug-in starts with which you sign the orders electronically. Follow the instructions in the masks of the signature plug-in. The procedure is described in detail in section Signing EBICS orders electronically. |
||||||
|
5. |
Refresh the signature folder with the button
|
||||||
|
6. |
For bank accesses with protocol version EBICS 2.x you can check in the bank protocol whether the order has been signed. Select and click on
|
||||||
|
7. |
Alternatively, check the status overview to see whether the order has been signed. |
||||||
 .
. .
. .
.
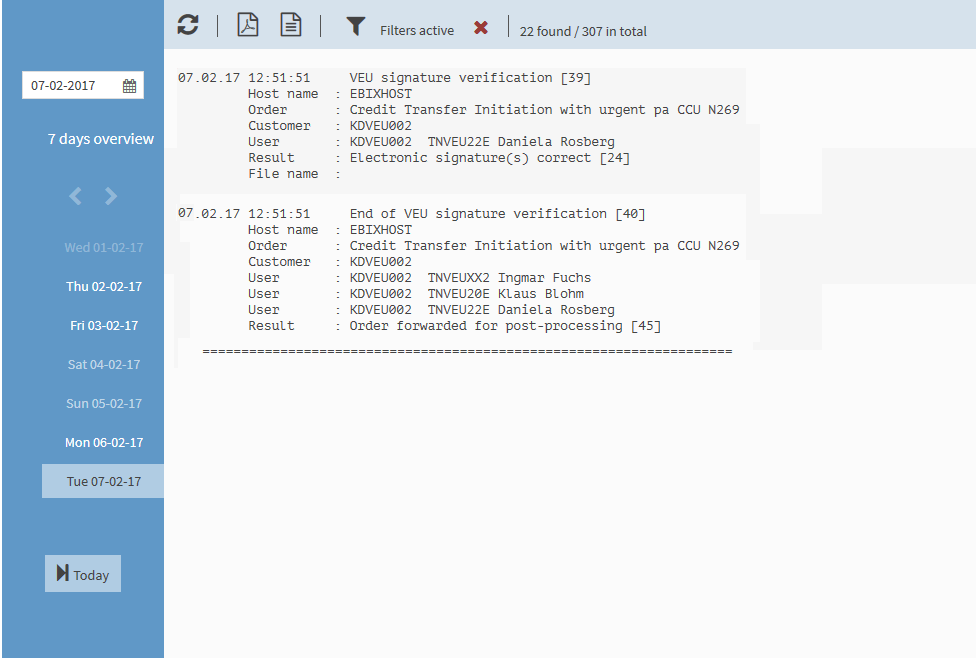
If the order has been signed correctly, it can be further processed at the financial institution.