You select a bank access from the created customer bank accesses or a global bank access, add data and save the bank access.
Afterwards, you can initialise the saved bank access and assign business transactions to it.
You are assigned the rights Protocol user bank accesses: read (own) and Protocol user bank accesses: edit (own).
The bank accesses can be edited by a user and are not defined by the financial institution.
|
1. |
Select and the tab Bank accesses. |
||
|
2. |
Click on |
||
|
3. |
Select Create FinTS bank access. |
||
|
|

|
||
|
4. |
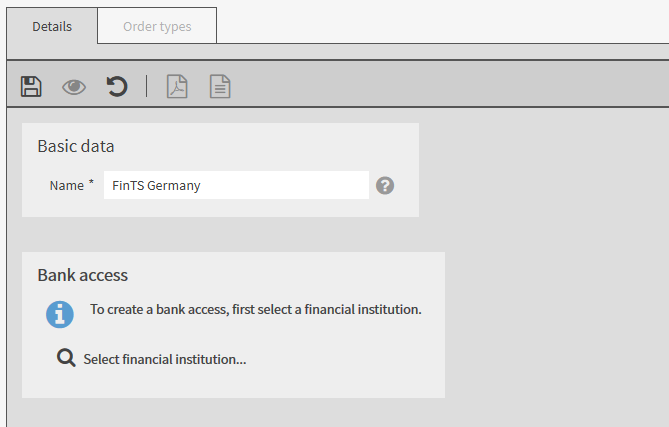
In the mask area Basic data enter the name of the bank access. |
||
|
5. |
In the mask area Bank access click on Select financial institution....
|
||
|
6. |
Select a financial institution and click on Accept.
|
||
|
|
|
||
|
7. |
|||
|
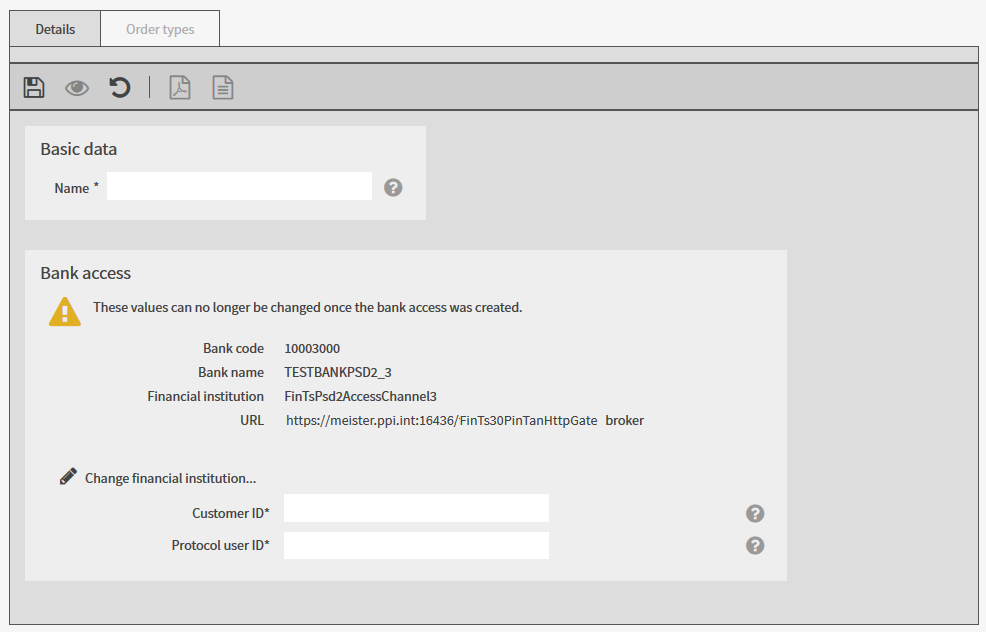
8. |
Enter the customer ID and the protocol user ID you use to identify yourself at the financial institution. Note: If your financial institution has not provided you with a protocol user ID, enter the customer ID for the protocol user ID as well. The names Customer ID and Protocol user ID can be different at your financial institution. If your financial institution uses other names, they will be displayed in this mask after you complete the initialisation of the bank access. |
||
|
9. |
Save the data. |
||
|
10. |
To initialise the bank access, click on Start initialisation.
|
 .
.
The mask-specific buttons have the following meaning:
|
Button |
Action |
|
Start initialisation |
Starts the wizard for initialising the bank access The procedure is described in the section Initialising a bank access. |
|
Adjust PIN |
Allows you to adjust the PIN that is saved locally for the bank access |