In the following example, the first signature is submitted for two orders.
More information on how to select multiple orders at the same time can be found in the sections Selecting several list elements (checkboxes) and Grouping multiple list elements.
|
1. |
Select . |
||||
|
2. |
Use the checkboxes in the left-hand column to select the orders for signing. You can activate multiple checkboxes.
|
||||
|
3. |
To electronically sign all the selected orders, click on Sign below the checkboxes or select the entry Sign with a right mouse click via the context menu. The button is only active and selectable if at least one order is selected via the checkboxes. The application checks whether the orders fulfil the following conditions:
If all the conditions are fulfilled, the signature plug-in starts with which you sign the orders electronically. |
||||
|
4. |
Follow the instructions in the masks of the signature plug-in. The procedure is described in detail in section Signing EBICS orders electronically.
|
||||
|
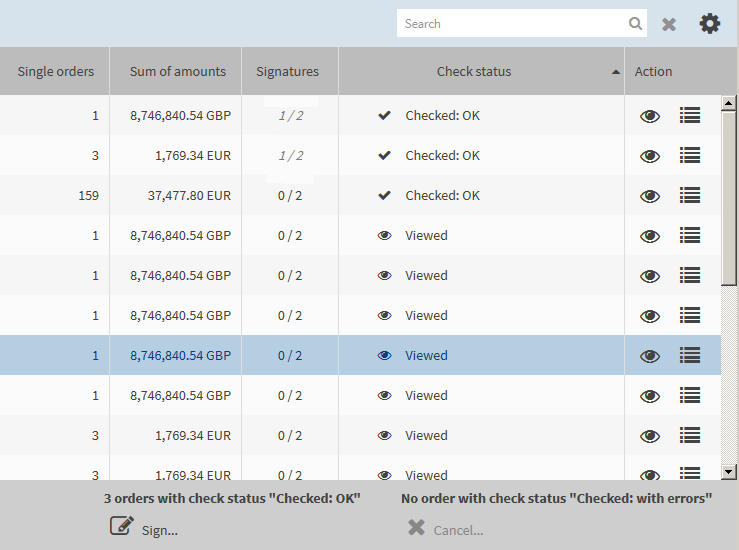
5. |
The following figure shows the signature folder after you submitted your signature. For the selected orders, the number of submitted signatures has been increased by one.
|
||||
|
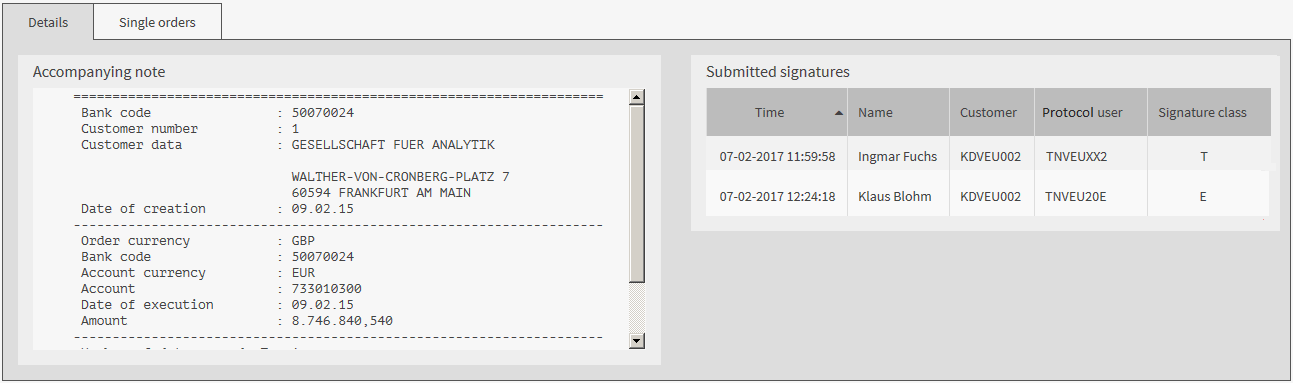
6. |
Open the detailed view of the order by double-clicking on it. In the area Submitted signatures, your submitted signature is displayed.
|
||||
|
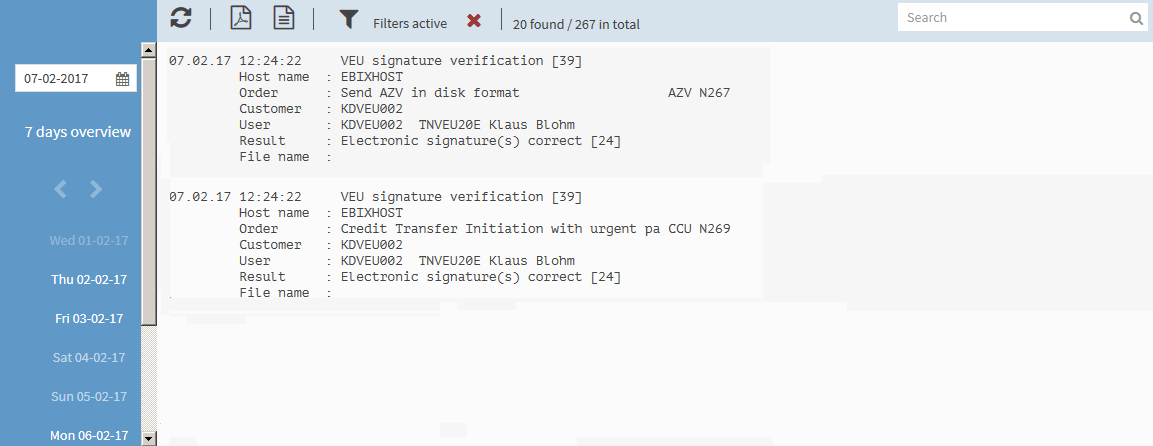
7. |
For bank accesses with protocol version EBICS 2.x you can check in the bank protocol whether the order has been signed. |
||||
|
8. |
Alternatively, check the status overview to see whether the order has been signed. |
||||
 .
.